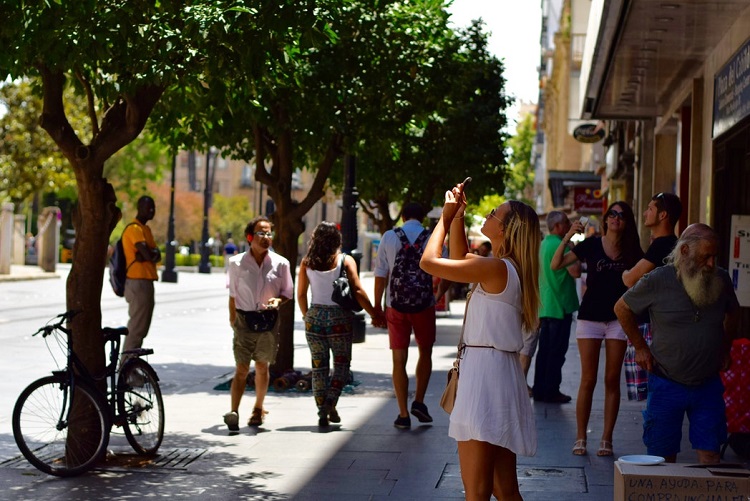
 Quelle: punttim auf Pixabay
Grundkurs Smartphone Fotografie: 3 Tipps für bessere Bilder
12. Juli 2018 Veröffentlicht von Raphael DoerrIhr habt keine Lust darauf, immer eine extra Kamera mit Euch rumzutragen? Braucht Ihr auch gar nicht – wir zeigen Euch in unserer neuen Serie, wie Ihr ab sofort bessere Bilder mit Eurem Smartphone macht. Im zweiten Teil geht es um die optimale Bildgestaltung. Die beste Kamera ist die, die man gerade dabei hat – und das ist ganz oft Eure Smartphone Kamera.
Alles eine Frage der Perspektive
Die Grundlage eines jeden guten Fotos ist, dass Ihr Euch Gedanken über Euer Motiv macht. Welche Aussage soll das Bild haben? Welche Stimmung wollt Ihr vermitteln? Welche Perspektive eignet sich besonders? Am weitesten verbreitet ist die Normalsicht. Die Kamera befindet sich auf der gleichen Höhe mit dem fotografierten Objekt – und das ist auch die Botschaft, die später im Bild rüberkommt.
Bei der Untersicht befindet sich die Kamera unter dem fotografierten Objekt und schaut gewissermaßen auf. Mit dieser Perspektive solltet ihr vorsichtig umgehen, weil sie schnell gekünstelt wirken kann. Untersichten kommen für gewöhnlich dann zum Einsatz, wenn eine Person dominant erscheinen oder beim Betrachter Ehrfurcht erweckt werden soll. Die Unterperspektive verstärkt Fluchtlinien und betont damit die Größe von Personen oder die Höhe von Objekten. Durch die Unterperspektive sinkt die Horizontlinie ab oder verschwindet sogar aus dem Bildraum.
Die gewählte Perspektive unterstützt die gewünschte Wirkung des Bildes – der Mann wirkt stark.
Eine Steigerung der Untersicht ist die Froschperspektive – hier schaut die Kamera noch weiter zum fotografierten Objekt auf. Die Aufsicht bezeichnet eine Kameraperspektive, bei der ein Objekt aus einer erhöhten Position aufgenommen wird. Der Betrachter erhält den Eindruck, dass er auf das Objekt herabsieht. Bei Personenaufnahmen visualisiert die Aufsicht Machtlosigkeit, Armut, Unterlegenheit, Erniedrigung oder Ohnmacht. Die Steigerung der Aufsicht ist die Vogelperspektive.
Nehmt Euch etwas Zeit, probiert verschiedene Perspektiven bei einzelnen Bildern und schaut, wie sich die Aussage Eurer Fotos ändert!
Beachtet die Drittel-Regel
Die Drittel-Regel oder auch der goldene Schnitt gehören zum Grundwissen der Bildgestaltung – wahrscheinlich könnt Ihr Euch noch aus dem Unterricht daran erinnern. Bei der Drittel-Regel teilt Ihr Euer Bild gedanklich in neun gleich große Rechtecke. Bei unseren Gigaset Handys könnt Ihr das Raster natürlich auch einfach bei den Kameraeinstellungen auswählen.
Bei der Drittel-Regel platziert Ihr die wichtigsten Elemente Eures Fotos genau auf diesen Linien und an den Schnittpunkten der Linien. Eure Bilder wirken dann oft deutlich besser, als wenn Ihr Euer Hauptmotiv einfach in der Mitte platziert. Probiert es mal aus!
Diese Regel ist natürlich kein Allerheilmittel für gute Fotos. Sie hilft Euch aber, intensiver über Euer Motiv nachzudenken und den Blick des Betrachters auf die wichtigsten Elemente im Bild zu lenken. Regeln sind aber bekanntlich auch da, um gebrochen zu werden. Ihr solltet Euch jetzt nicht bei jedem Bild an diese Regel halten, sondern sie in den Situationen anwenden, in denen sie Euch sinnvoll erscheint.
Durch die Anwendung der Drittel-Regel wird unser Blick automatisch in die Ferne gelenkt – das Bild strahlt eine wunderbare Ruhe und Weite aus.
Richtet den Horizont gerade aus
Dieser Tipp ist wirklich wichtig: Konzentriert Euch nicht nur auf Euer Hauptmotiv, sondern auch auf den Hintergrund. Bilder mit schiefem Horizont wirken einfach nicht gut. Stellt Euch vor, Ihr fotografiert am Strand – und das Meer läuft auf einer Seite „aus“. Tut uns also den Gefallen und achtet auf Euren Horizont.
 Kommentar
 DE
DE 


